jmkk
New member
I'm still waiting for the ballast and an 8000k bulb. Probably will install the stuff next week. Anyone has any pictures yet?
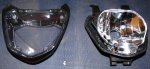
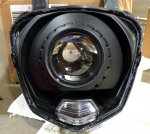
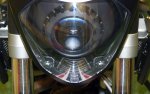
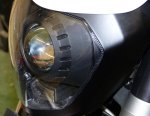
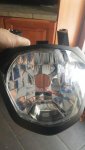
This is a picture to see the size of the projector.
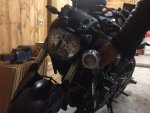
This is a picture to see the size of the projector.
")